REVIEW · VANCOUVER
Photography, Hiking & Ferry to Bowen Island
Book on Viator →Operated by Nature PhotoHikes · Bookable on Viator
A ferry ride sets the tone fast. This Bowen Island outing pairs a professional photographer guide with Howe Sound views and a forest walk built for real photo practice.
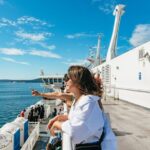
You’ll spend the day learning how to frame outdoor scenes, not just snapping a few quick pics. The ferry part alone feels like a moving lookout, with islands sliding by and lots of light for photos.
I especially like how the group stays small and instruction stays personal. With guide Nafees (you may also see the name spelled Nash or Nashee), you get hands-on help with camera settings and composition, plus a chance to borrow a DSLR and then get complimentary photos from the day.
One thing to keep in mind: the full experience is only about a half-day, so you might want to treat it like a focused photo walk—not a long, slow hike.
In This Review
- Why This Bowen Island Photo Tour Feels Different
- Key Points You’ll Care About
- Setting Off from Horseshoe Bay: The Ferry Is Part of the Experience
- Photo tip you can use right away
- Arriving at Snug Cove: Bowen Island’s Quiet Hub
- The Photo Hike Start: Killarney Lake Parking and the Real Practice
- If you brought a phone
- If you brought a DSLR—or didn’t
- Old-Growth Forest, Waterfalls, and Fallen Leaves: What You’ll Actually Shoot
- A realism check on wildlife
- Why the Group Size and Coaching Style Are the Value
- Timing and Pacing: How Long You’ll Be Out and Why It Feels Fast
- What to Bring for a Comfortable Photo Hike
- Getting the Most Out of the Ferry-to-Forest Photo Setup
- Who This Tour Is Best For (and Who Might Want Something Else)
- Price and Value: What $133.61 Buys You in the Real World
- Quick Reality FAQ Before You Book
- Should You Book This Bowen Island Photography, Hiking & Ferry Tour?
- FAQ
- How long is the Photography, Hiking & Ferry to Bowen Island tour?
- Does the tour include a ferry ride to Bowen Island?
- Is pickup available in Vancouver?
- Where does the tour start and end?
- Can I borrow a DSLR camera during the tour?
- Is the hike suitable for different experience levels and camera types?
- What should I bring since food and drinks aren’t included?
- What if the weather is bad?
Why This Bowen Island Photo Tour Feels Different
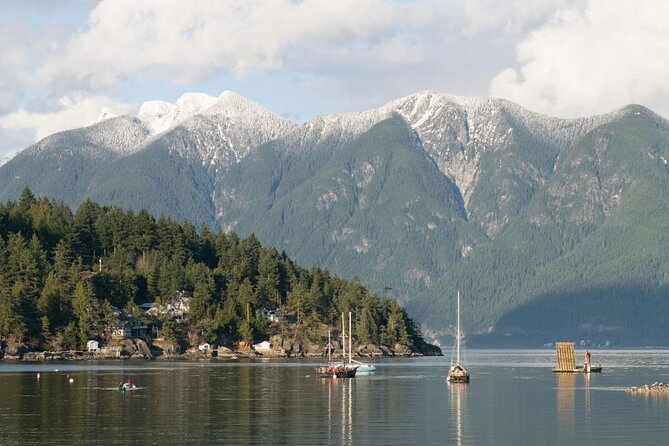
Bowen Island is close to Vancouver, but it feels worlds away once you’re off the ferry. The tour uses that switch—city-to-coast-to-forest—as your backdrop for learning photography while you actually walk, stop, and shoot.
The best part is the mix of structure and freedom. You’re not left on your own to figure it out. At the same time, you’re not herded through a checklist of photo spots. You get time at the good views, plus guidance that helps you make better choices with what you see.
Key Points You’ll Care About
Small group size (max 6) for more one-on-one photo coaching
Ferry ride to Bowen Island with Howe Sound scenery built in
DSLR borrowing + complimentary photos even if you bring a phone
Old-growth forest walk and waterfall areas with wildlife possible along the route
Fall color timing with fallen leaves that make easy, rewarding photos
All-weather operation so you dress for rain or shine
Setting Off from Horseshoe Bay: The Ferry Is Part of the Experience
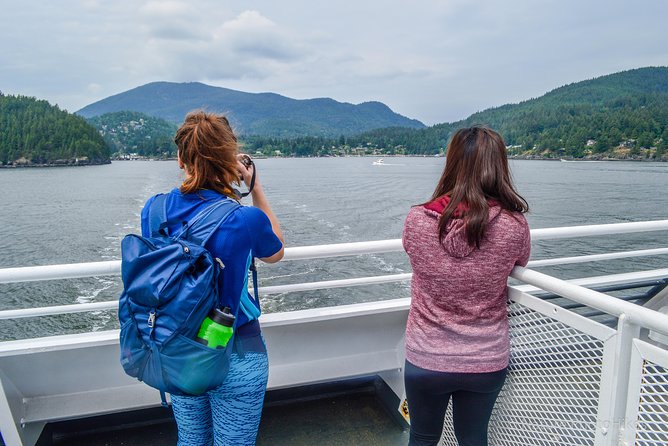
Your day starts at the Horseshoe Bay Ferry Terminal area, with everything timed around the ferry to Bowen Island. This matters more than it sounds. When the ferry is first, you’re already “in photographer mode” before you even hit the trail.
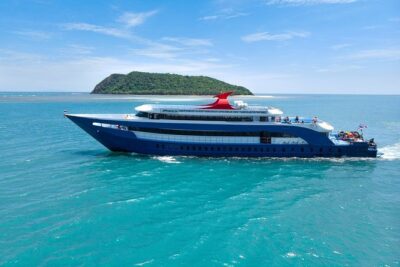
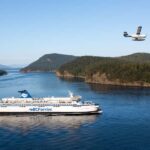
From the water, Howe Sound looks different than it does from shore. Islands stretch into the distance, and the coastline keeps changing as the ferry moves. That motion gives you layers to frame—forests far back, rocky edges near you, and sky that’s constantly shifting.
If you’re thinking, I only came for the hike: fair. But the ferry is where you can practice before you need to concentrate on footing. It’s also where you can get those classic travel shots that don’t require a perfect hiking day. You’ll likely see wildlife chances too. One of the most memorable moments from this tour is spotting seals around the ferry dock and again from the island side when conditions allow.
Photo tip you can use right away
Start with the simple stuff:
- Shoot both wide views and details (water texture, shoreline shapes).
- Try a few angles from inside the ferry and a few from outside if the boat layout allows it.
- Don’t wait for the perfect light—shoot during the golden in-between moments.
Arriving at Snug Cove: Bowen Island’s Quiet Hub
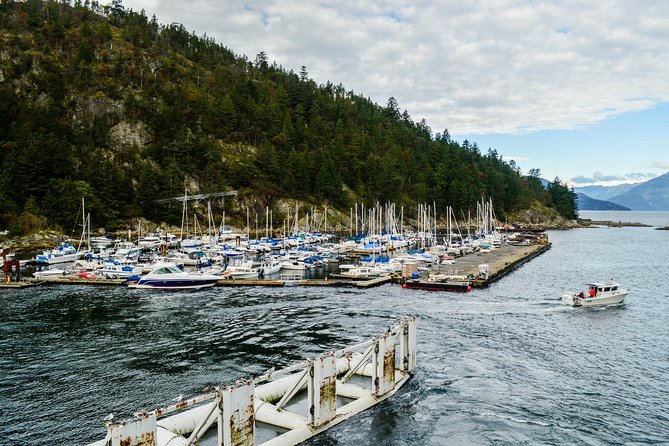
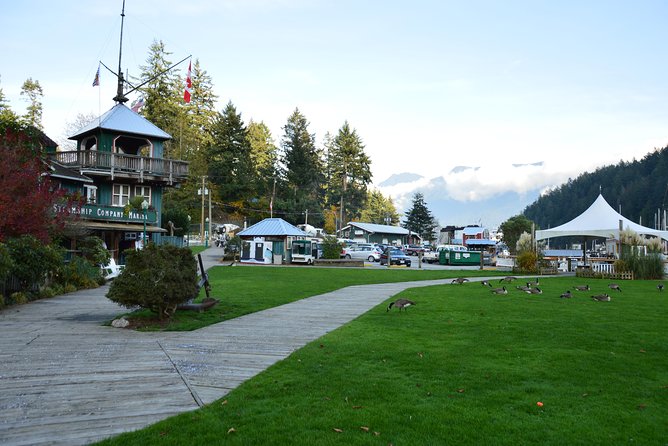
After the short ferry crossing, you reach Bowen Island’s Snug Cove terminal. This is where the pace shifts from motion to exploring. The air feels different here—more coastal, less urban. Even if you’ve never been to Bowen before, you’ll get your bearings quickly.
The tour includes time near the Bowen Island Visitor Centre area. I like this stop because it works like a reset point. You can check your camera settings, wipe off condensation if it’s damp, and get a quick orientation for what’s coming next on the hike.
Bowen Island is also the kind of place where you can spot wildlife without trying too hard. The island has a reputation for being calm and photo-friendly, and that calm is a gift: you don’t feel rushed, and you can slow down for a shot when you see something interesting.
The Photo Hike Start: Killarney Lake Parking and the Real Practice
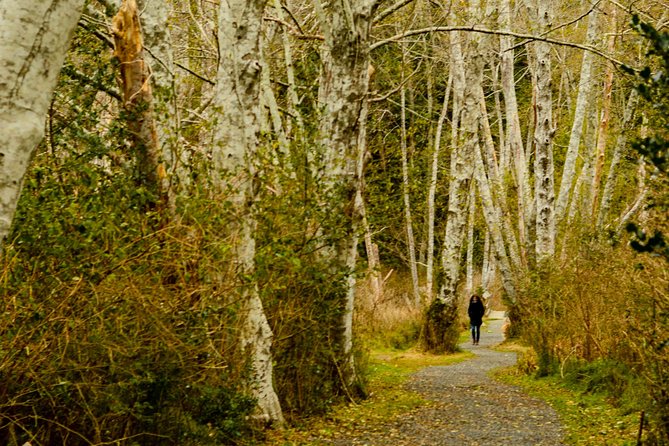
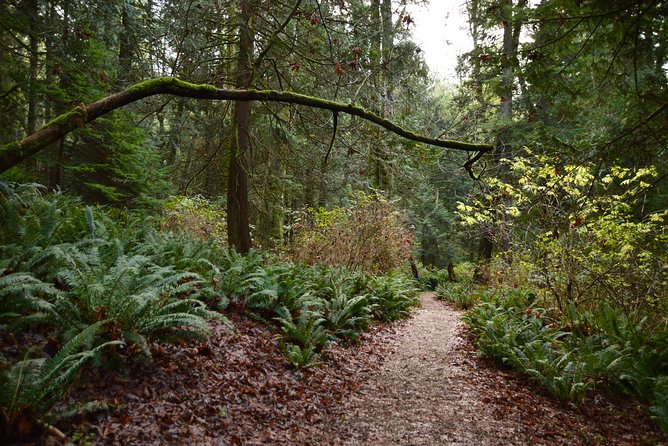
The hiking portion heads to the Killarney Lake Parking area. This is the point where the tour becomes more about skill than scenery. You’re in old-growth forest territory, walking among tall trees and areas that can bring waterfalls and wildlife into the mix.
Here’s why that matters: woods photography can be harder than it looks. Light changes under the trees. Shadows break up the frame. Then you get sudden open moments where the sky and leaves create contrast. A guided hike helps you learn how to adapt without feeling lost.
Nafees’s teaching style (based on what many people report) focuses on practical photography. You’re not just told what settings to use. You’re encouraged to understand why the settings matter for the scene in front of you—especially when you’re photographing leaves, forest depth, and movement in water.
If you brought a phone
You’re not out of luck. The tour is designed for all levels and different cameras. Even if your phone is your main camera, you’ll still benefit from composition lessons: where to place the subject, how to simplify backgrounds, and how to create depth with distance and layering.
If you brought a DSLR—or didn’t
You can borrow a DSLR from your guide. That’s a huge value add because it removes one of the biggest barriers to better photos: access to the right gear. And because you’ll be shooting in real conditions—wind, changing light, uneven paths—you’ll learn faster than you would from a classroom lesson.
Old-Growth Forest, Waterfalls, and Fallen Leaves: What You’ll Actually Shoot
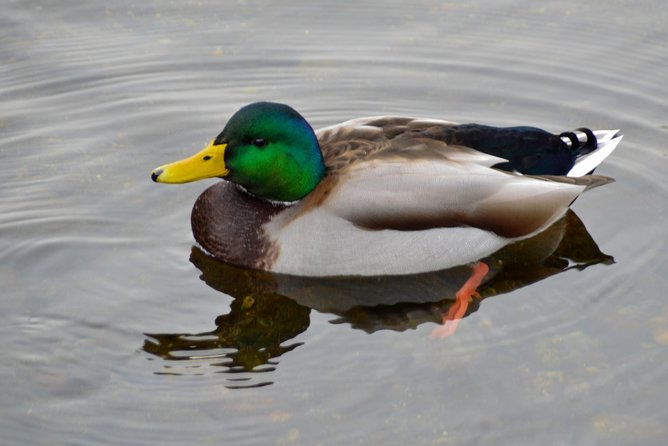
The tour’s core nature scenes include old-growth forest, waterfalls, and wildlife possibilities. Then, depending on the time of year, fall colors and fallen leaves become the easy wins.
Fall leaves are perfect for photography coaching because they give you “built-in subjects.” You can practice:
- Foreground detail versus background blur
- Color contrast (leaves against darker trunks)
- Leading lines from fallen branches and footpaths
- Framing with tree spacing
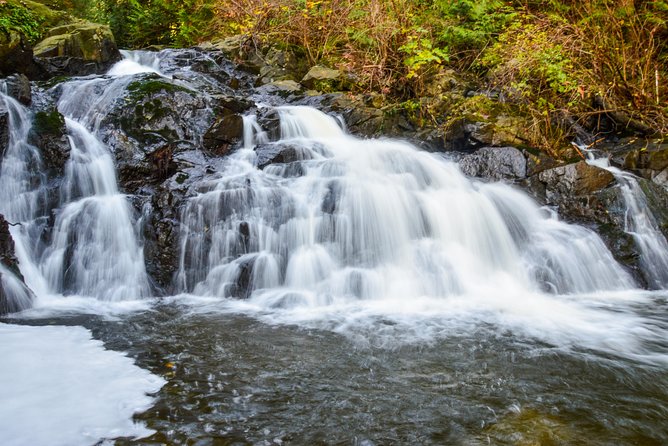
And because the tour includes spots with waterfalls, you can also try motion effects and exposure decisions. Water can be forgiving even when you don’t nail every camera setting on the first attempt. Shoot a few variations and compare them.
A realism check on wildlife
Wildlife isn’t guaranteed, but Bowen Island offers real chances. When you’re near ferry areas and in quieter forest zones, you may see animals at the right moments—like the seals people have spotted near the dock and around the island. Bring patience. Then bring your camera ready.
Why the Group Size and Coaching Style Are the Value
This is a maximum 6-person tour. That changes everything. When the group is small, your guide can stop and correct your approach instead of giving one lecture for everyone and hoping it lands.
Instruction is also hands-on. People report getting real help with composition and camera settings, including shooting in manual modes. Even if you’re newer, the pace is friendly. You’re walking, practicing, and getting feedback while the scene is still in front of you.
One of the most appreciated perks is that the guide captures you too. You’re not just behind the lens all day. You get a photoshoot as part of the experience, and complimentary photos are sent at the end. That’s a practical benefit: you leave with images that actually look like someone composed them, not just a phone shot taken from far away.
Timing and Pacing: How Long You’ll Be Out and Why It Feels Fast
The tour runs about 6 hours. For most people, that’s the sweet spot. You get the ferry ride, a good chunk of forest time, and photography practice without needing to turn the day into a multi-hour hike marathon.
Still, here’s the consideration. A few people have felt that the overall outing was closer to 4 hours and felt a bit rushed. Weather, group pace, and ferry timing can affect how much time you spend at each stop. So if you’re the type who wants long lingering sessions at every viewpoint, you might prefer to think of this as a focused photo outing rather than a slow day of wandering.
My advice: come with a plan for what you want to practice. If your goal is leaf colors, plan to spend extra time on the small details. If your goal is forest depth, practice framing distance and silhouettes. You’ll feel less rushed when you already know what to shoot.
What to Bring for a Comfortable Photo Hike
Food and drinks aren’t included, so plan to bring your own snacks and water. The tour guidance also points you toward comfortable shoes and clothing. That’s not just generic advice. Uneven forest ground and damp leaves make footwear a real quality-of-life issue.
Pack like this:
- Comfortable shoes you can trust on forest paths
- A water bottle plus a snack (so you don’t cut your shooting time to buy food)
- Rain gear or a light layer for the weather shift from ferry to forest
- Your camera (or plan to borrow the DSLR)
- Any basic cleaning cloth if you have one (fog and damp happen)
Also, dress appropriately for the weather. This tour operates in all weather conditions, which usually means you’ll still go out—but you’ll be thankful you’re dressed for real outdoors, not perfect postcard conditions.
Getting the Most Out of the Ferry-to-Forest Photo Setup
To get the best photos, treat the day as two different types of shooting.
On the ferry:
- Practice wide shots and framing through windows or open deck areas.
- Try a few horizons at different heights.
- Shoot moving subject layers (waterline + distant islands).
On Bowen Island:
- Slow down. Leaf shots and forest compositions need patience.
- Use the trees and paths to create depth.
- When you see water or waterfalls, take multiple exposures or angles instead of one quick grab.
And then use the guidance you get. Even if you’re already confident with a camera phone, the composition lessons transfer. People have even noted that they left with tips they could apply to their iPhone shots right away.
Who This Tour Is Best For (and Who Might Want Something Else)
This tour is ideal if you:
- Want nature scenery without navigating everything yourself
- Like small-group experiences with real coaching time
- Want help even if you have a basic camera phone
- Prefer practical learning over just scenic sightseeing
- Enjoy fall photography and leaf-and-forest scenes
You might want to choose a different style of tour if you:
- Want a long, high-mileage trek for all-day hiking
- Expect no schedule pressure at all (ferry timing is part of the day)
- Are only interested in one subject, like shopping in Snug Cove
Price and Value: What $133.61 Buys You in the Real World
At $133.61 per person, you’re paying for more than transportation. You’re paying for:
- A guided small-group hike
- A professional photographer guide (with hands-on teaching)
- Ferry transport to and from Bowen Island
- A chance to borrow a DSLR
- A photoshoot plus complimentary photos afterward
If you’ve ever tried to book a boat ride plus hire a photographer plus learn photography basics separately, the cost usually jumps fast. Here, those pieces are packaged together in a day that already includes the scenery you want to photograph.
It’s also good value for camera gear anxiety. Borrowing a DSLR means you can get the look and control without renting equipment on your own. And getting complimentary photos removes the stress of getting decent shots of yourself.
Quick Reality FAQ Before You Book
You’ll still want to plan for weather and comfort, and you should come prepared to walk and shoot. But if you like learning outdoors and getting usable photos at the end, this is one of the more straightforward ways to do it from Vancouver.
Should You Book This Bowen Island Photography, Hiking & Ferry Tour?
I’d book it if your ideal day includes a calm coastal ferry ride, an actual forest walk, and real help improving your photos. The small-group size, the DSLR borrowing, and the fact that you’ll also get complimentary photos make it feel like more than a scenic outing.
If you’re unsure, here’s your decision rule: if you want to leave with better photos and a few clear photography skills you can use immediately, this tour is a strong match. If you mainly want long hiking time or zero schedule constraints, look for a longer or more flexible Bowen Island hike option instead.
FAQ
How long is the Photography, Hiking & Ferry to Bowen Island tour?
It runs for about 6 hours.
Does the tour include a ferry ride to Bowen Island?
Yes. You ride the ferry from Horseshoe Bay to Bowen Island (Snug Cove) as part of the tour.
Is pickup available in Vancouver?
Yes. Pickup is offered from downtown hotel or rental accommodation areas, including the Hyatt, as well as the starting point.
Where does the tour start and end?
It starts at WB W Georgia St @ Granville St in Vancouver, and it ends back at the same meeting point.
Can I borrow a DSLR camera during the tour?
Yes. The tour includes the option to borrow a DSLR from your guide.
Is the hike suitable for different experience levels and camera types?
Yes. The tour is described as suitable for all levels of hikers and all types of cameras.
What should I bring since food and drinks aren’t included?
Bring comfortable shoes and clothing, plus water and snacks.
What if the weather is bad?
The tour operates in all weather conditions and you should dress appropriately. If it is canceled due to poor weather, you’ll be offered a different date or a full refund.